Overview
Overview
BELLATRIX is not a single thing it contains multiple framework libraries, extensions and tools. The tool is built to be cross-platform, however some of the features can be used under Windows since they are written for Visual Studio.
Before proceeding with the installation, please read the system requirements system requirements and install all prerequisites!
Simple Installation
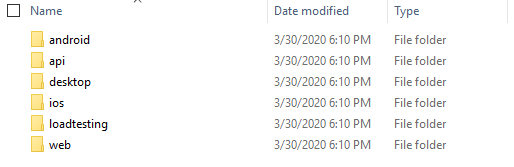
1.1. Download the BELLATRIX projects zip file from the email you received after the downloading step. 1.2. Unzip it. The projects are grouped by technology: web, desktop, mobile, API, load testing

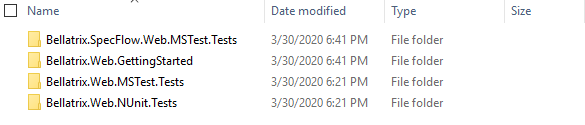
1.3. Open the project based on the test framework you prefer: MSTest or NUnit.
1.4. Click on the csproj file.
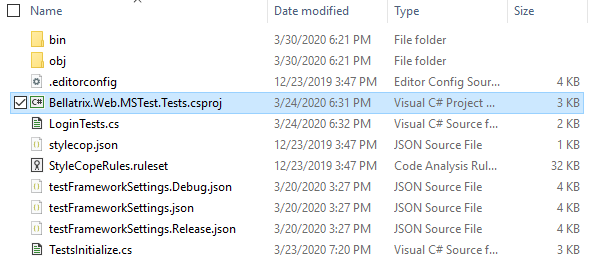
1.5. Run the sample tests. 1.6. You can try to write a simple test yourself. 1.7. For an in-depth revision of all framework features you can open the getting started projects.
Installation Steps Visual Studio Integration
- Download BELLATRIX UI Installer x86 version or x64 version
- Run Bellatrix.Installer.UI.msi
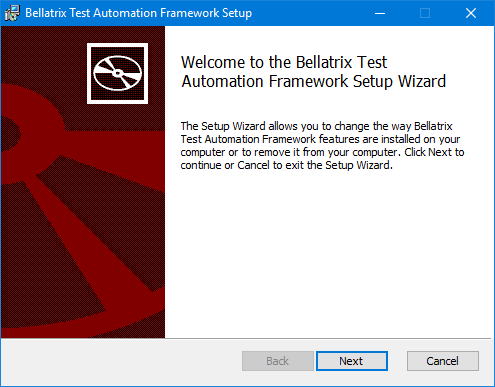
2.1. Click Next
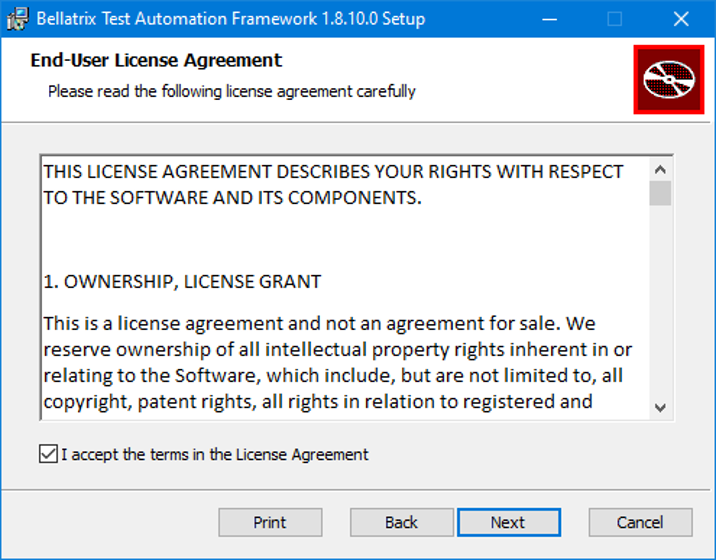
2.2. Accept End-User License Agreement and click Next.
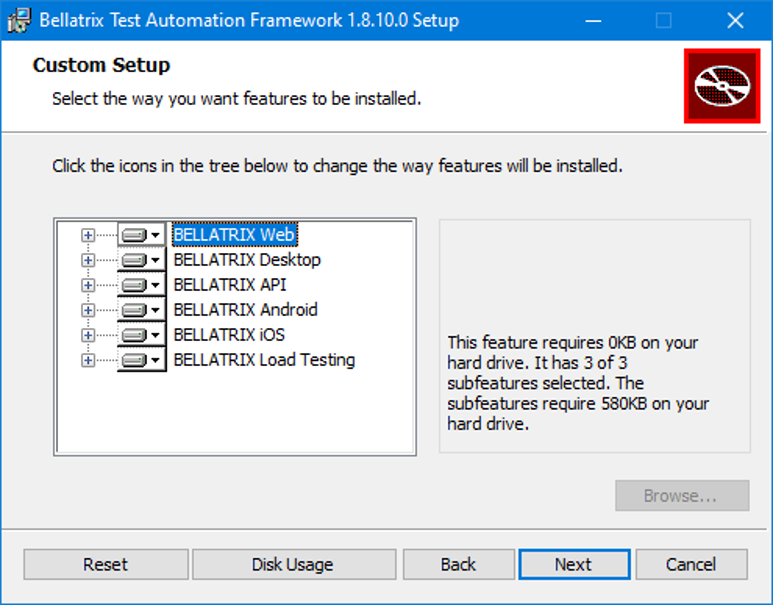
2.3. Select BELLATRIX modules you would like to install and proceed with.
2.4. Click Install and agree to run the installer with Administrative permissions.

2.5. Wait for the installation to finish.
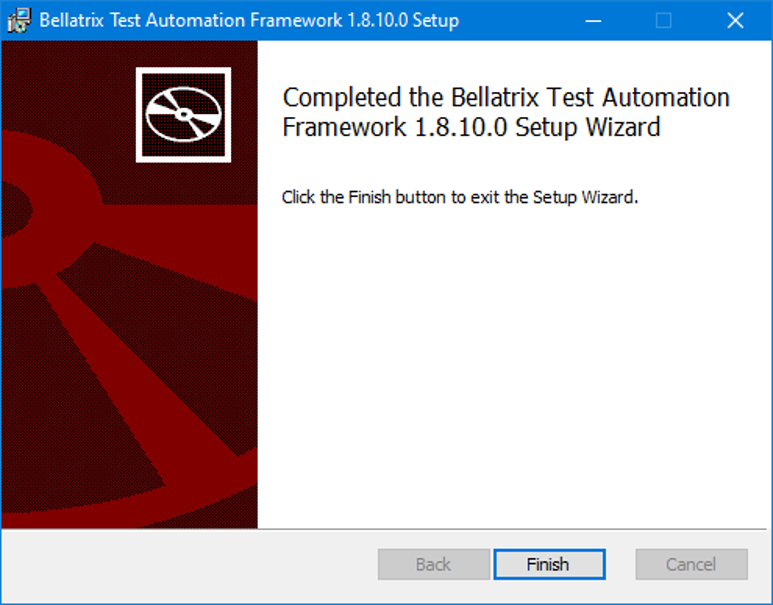
After you install the product, you need to open one of the starter kit projects to see how to use all features.
Read how to use all installed features: